
How to Add Wooden Acoustic Panels: A DIY Guide to Enhance Your Space with Style and Function
When it comes to updating your home, especially if you’re lucky enough to live in a heritage property, balancing aesthetics with practicality is key. While we often think about paint colors, furniture, and lighting, sound quality is one aspect that’s easy to overlook — until you’re sitting in a beautifully styled room that feels oddly echoey. If you’ve ever noticed that your favorite spaces just don’t sound as good as they look, wooden acoustic panels might be the perfect solution.
Not only do these panels provide a sleek, modern update that complements both traditional and contemporary interiors, but they also help absorb unwanted noise, making your home feel quieter, cozier, and more welcoming. Let’s dive into how you can transform your space with wooden acoustic panels, turning your room into an oasis of calm and style.
Why Choose Wooden Acoustic Panels?
So why wooden acoustic panels, you ask? Great question! Imagine a space where you can play your favorite music, host dinner parties, or simply relax without the constant bounce of noise off hard surfaces. The beauty of wooden acoustic panels is that they reduce unwanted echoes while adding a stunning visual element to your room. They’re especially great in heritage homes, where traditional woodwork meets the needs of modern living. These panels bring a rich, natural texture that can either complement or contrast with your existing décor — perfect for adding a little wow factor without straying from the character of your home.
Think of them as the ultimate blend of style and substance: they look gorgeous, they improve your room’s acoustics, and they’re an easy weekend project you can tackle yourself. Ready to get started? Here’s everything you need to know.
Materials and Tools You’ll Need
Before we begin, let’s gather our supplies. It’s a simple list, and most items are readily available at your local hardware store. Here’s what you’ll need:
Materials:
- Wooden acoustic panels (available in various wood types like oak, walnut, or pine)
- Acoustic insulation material (for extra sound absorption)
- Wood glue or construction adhesive
- Finishing nails or screws
- Wood stain or paint (if you prefer a custom finish)
- Wood filler (for touch-ups and a seamless look)
Tools:
- Measuring tape
- Level
- Stud finder
- Circular saw
- Sandpaper (120- and 220-grit)
- Paintbrush or roller
- Hammer or nail gun
- Safety gear (gloves, goggles, and a mask)
Step 1: Planning and Measuring Your Space
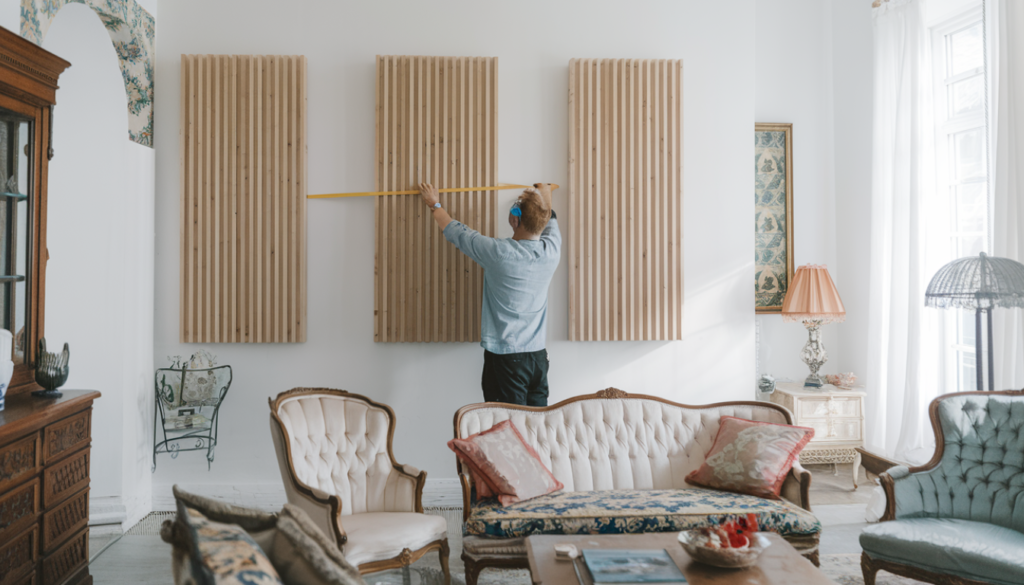
The first step is to decide where you want to install your wooden acoustic panels. Consider high-traffic areas or rooms with a lot of hard surfaces, like your living room, home office, or even a hallway that feels like an echo chamber. For those of you in heritage homes, you might want to highlight spaces that could use a bit of acoustic warmth without detracting from original wood trim or moldings.
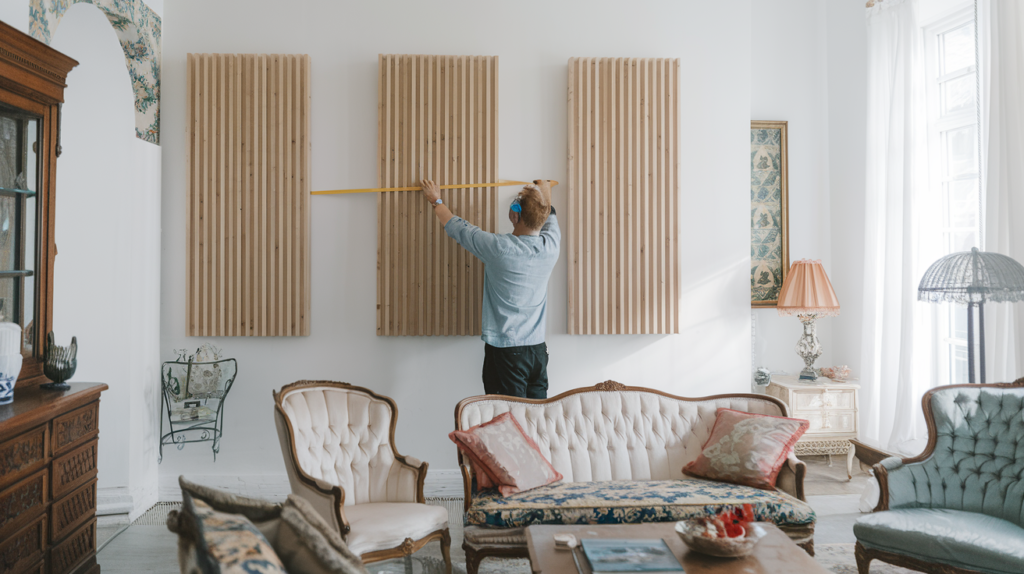
Tip: Start by measuring your wall space. Use a pencil and a level to mark out where the panels will go. This helps visualize the final look and ensures you buy the right number of panels. A little planning goes a long way in achieving a professional finish.

Step 2: Prepping Your Wooden Panels
This is where the fun begins! Prepping the panels allows you to get creative, adding your personal touch with custom stains or finishes.
Cutting the Panels: Use a circular saw to trim the panels to fit your wall. Sand the edges smooth with 120-grit sandpaper, then finish with 220-grit for a polished look.
Choosing the Finish: One of the joys of wooden panels is the variety of finishes you can choose from. For a more classic, heritage feel, opt for a rich, dark stain. Want something lighter and more contemporary? A natural, matte finish can brighten your space while still showcasing the beautiful grain of the wood.
Insulation for Better Acoustics: If you’re aiming to reduce noise further, add a layer of acoustic insulation behind the panels. This is particularly helpful in larger rooms or spaces with high ceilings.
Step 3: Installation Time!
Installing the panels is straightforward, even if you’re not a seasoned DIYer. Just take your time, and don’t rush. It’s all about enjoying the process and watching your space transform before your eyes.
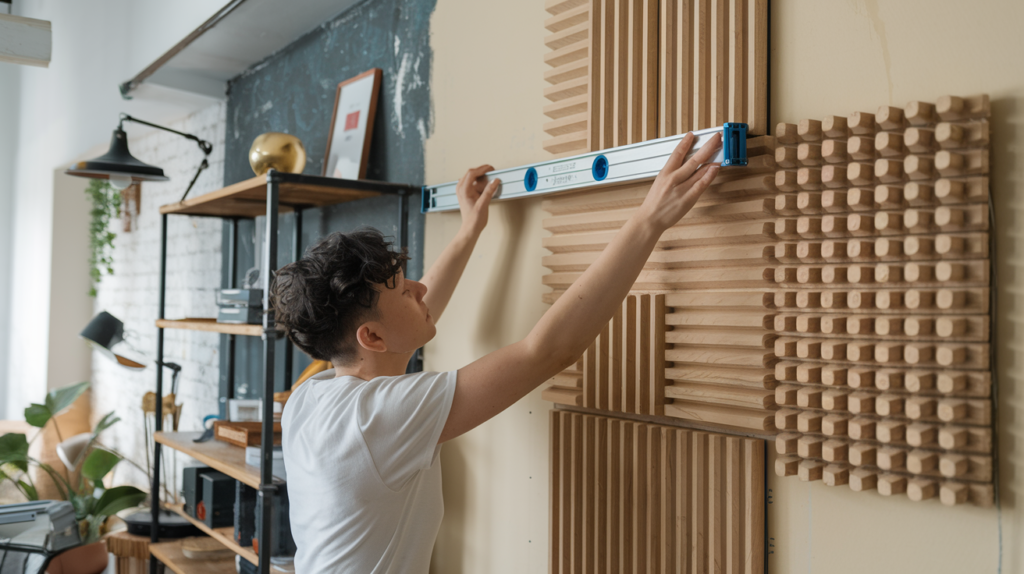
Finding the Studs: Use a stud finder to mark the studs on your wall. This ensures that your panels are securely attached.
Applying Adhesive: Generously apply wood glue or construction adhesive to the back of each panel. This helps absorb vibrations and enhances the sound-dampening effect.
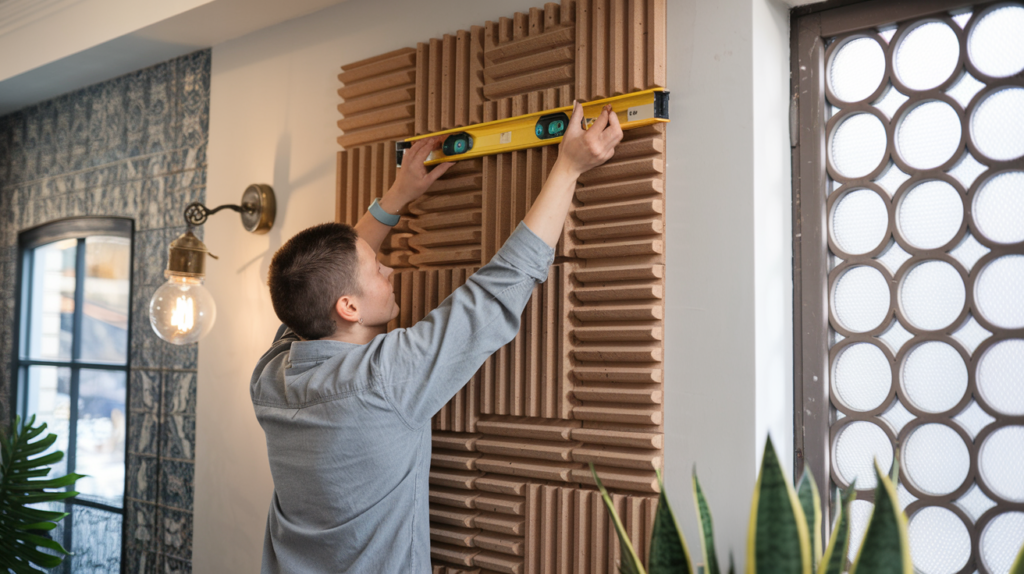
Mounting the Panels: Start from the bottom and work your way up. Press each panel firmly against the wall, using a level to make sure they’re perfectly straight. For added stability, secure the panels with finishing nails or screws.
Seamless Finish: To cover any nails or screws, use a small amount of wood filler. Once dry, sand it down gently for a smooth finish.
Tip: If you’re installing the panels in a heritage home, consider aligning them with existing architectural features like trim or wainscoting. This way, you’re enhancing the space without overpowering its original charm.
Step 4: Adding the Finishing Touches
Now that the panels are up, it’s time to step back and add the final touches that will make your space look polished and professional.
Sanding and Touch-Ups: Lightly sand any rough spots where panels meet, and fill any gaps or nail holes with wood filler. This helps create a seamless appearance.
Staining or Painting: Apply a final coat of stain or paint to unify the look. This step not only enhances the beauty of the wood but also protects it from wear and tear.
Cleaning Up: Wipe down the panels with a clean, dry cloth to remove any dust. Voila! You’ve just transformed your space into a stylish, sound-optimized haven.
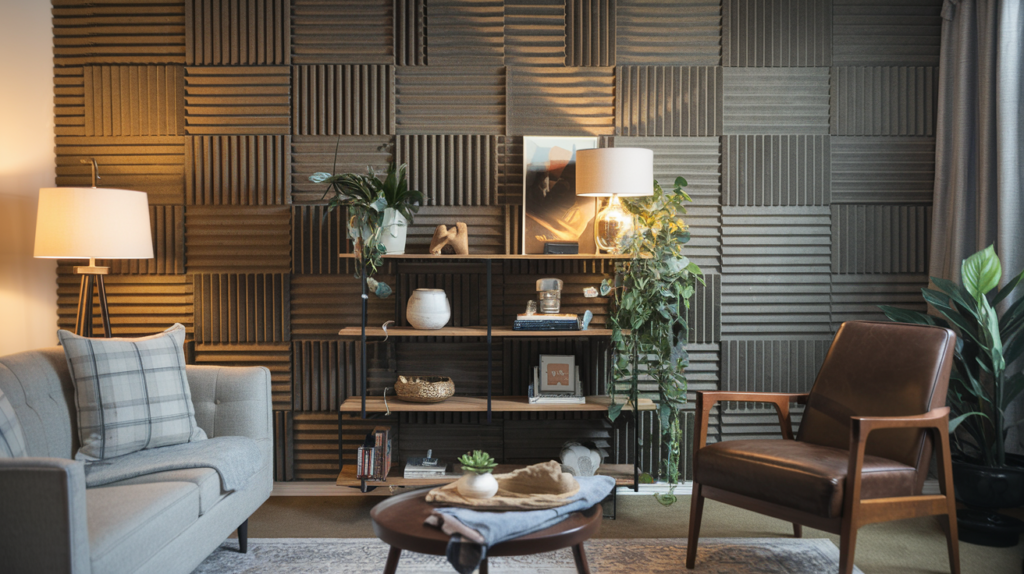
The Benefits of Wooden Acoustic Panels
Wooden acoustic panels are more than just a pretty addition to your home. Here’s why they’re worth the effort:
Enhanced Acoustics: They reduce echoes and absorb unwanted noise, making conversations clearer and creating a more comfortable atmosphere.
Aesthetic Appeal: The natural texture of wood adds warmth and sophistication, effortlessly elevating your interior style.
Added Value: Custom features like these can make your home more appealing to potential buyers. It’s a simple, stylish update that adds character and functionality.
Customization Options: From choosing the type of wood to deciding on the finish, wooden acoustic panels offer endless possibilities to match your style.
Caring for Your Panels
Keeping your wooden panels looking their best is simple. Regular dusting with a microfiber cloth will keep them clean. If you notice any scratches, a light sanding and touch-up with stain or paint will have them looking as good as new.
Final Thoughts
Wooden acoustic panels are the perfect blend of style and function, making them an ideal choice for anyone looking to modernize their space while maintaining a cozy, inviting feel. Whether you live in a heritage home filled with character or a sleek, contemporary space, adding wooden acoustic panels is an easy and impactful way to improve both the aesthetics and acoustics of your room.
So grab your tools, put on your favorite playlist, and get ready to transform your space. It’s time to make your home not just look better, but sound better too. Happy DIY-ing!
As an Amazon Associate I earn from qualifying purchases.